Optimal Colony Layout Design - Advanced Base Building Guide
Efficient colony layout is the foundation of a successful RimWorld settlement. This guide covers advanced base building techniques, room optimization strategies, and defensive positioning to create the perfect colony design. New to RimWorld? Start with our complete beginner's guide to learn the fundamentals before diving into advanced layout strategies.
Core Design Principles
1. Centralized Hub Design
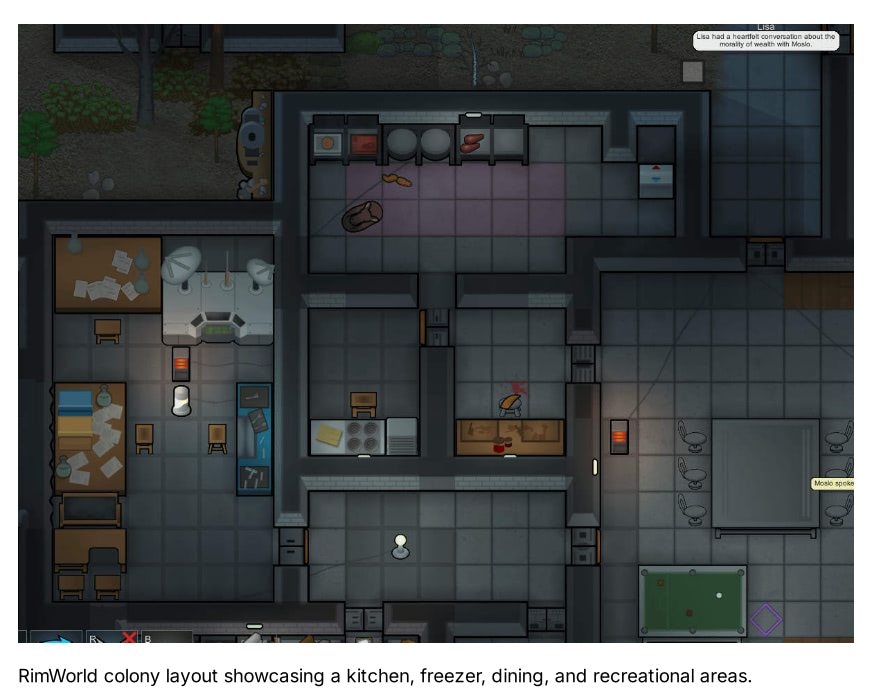
Build your colony around a central hub containing:
- Kitchen and Dining Room - Central location for meal preparation and social interaction
- Recreation Room - Entertainment and mood management
- Hospital - Quick access for medical emergencies
- Storage Areas - Easy access to materials and supplies
2. Zone-Based Planning
Organize your colony into functional zones:
- Living Quarter - Bedrooms, bathrooms, recreation
- Production Zone - Workshops, crafting stations, research
- Storage Zone - Warehouses, freezers, stockpiles
- Defense Zone - Walls, turrets, killboxes
- Agricultural Zone - Growing areas, animal pens
Proper zone planning also helps with colonist movement and work efficiency. Understanding how pawns navigate between zones is essential - learn more in our AI pathfinding guide.
Room Efficiency Optimization
Bedroom Design
Optimal bedroom specifications:
- Size: 6x6 tiles (36 tiles total) for maximum impressiveness
- Furniture: Excellent quality bed, dresser, end table
- Flooring: Fine or sterile tiles for beauty bonus
- Lighting: Standing lamp for mood improvement
- Art: Sculptures or paintings for beauty
For detailed guidance on achieving specific impressiveness levels and understanding the four factors that determine room quality, see our comprehensive room impressiveness guide.
Workshop Layout
Efficient workshop design principles:
- Group related workbenches together
- Place stockpiles adjacent to workbenches
- Ensure adequate lighting and temperature control
- Include tool cabinets for work speed bonuses
- Plan for future expansion and additional workbenches
Struggling with inefficient construction? Learn how to optimize your building process and avoid common construction AI problems in our construction efficiency guide.
Traffic Flow Optimization
Corridor Design
- Width: 3-tile wide main corridors for high traffic areas
- Materials: Use concrete or stone tiles for faster movement
- Lighting: Adequate lighting prevents mood penalties
- Intersections: Avoid bottlenecks at corridor junctions
Understanding how colonists navigate your base is crucial for efficient layout design. Learn about AI pathfinding quirks and how to optimize movement patterns in our pathfinding and routing guide.
Door Placement Strategy
- Use autodoors in high-traffic areas
- Place doors to minimize temperature loss
- Consider double doors for wide openings
- Use regular doors for private spaces
Defensive Integration
Perimeter Defense
Integrate defense into your colony layout:
- Outer Wall: Double-thick stone walls with embrasures
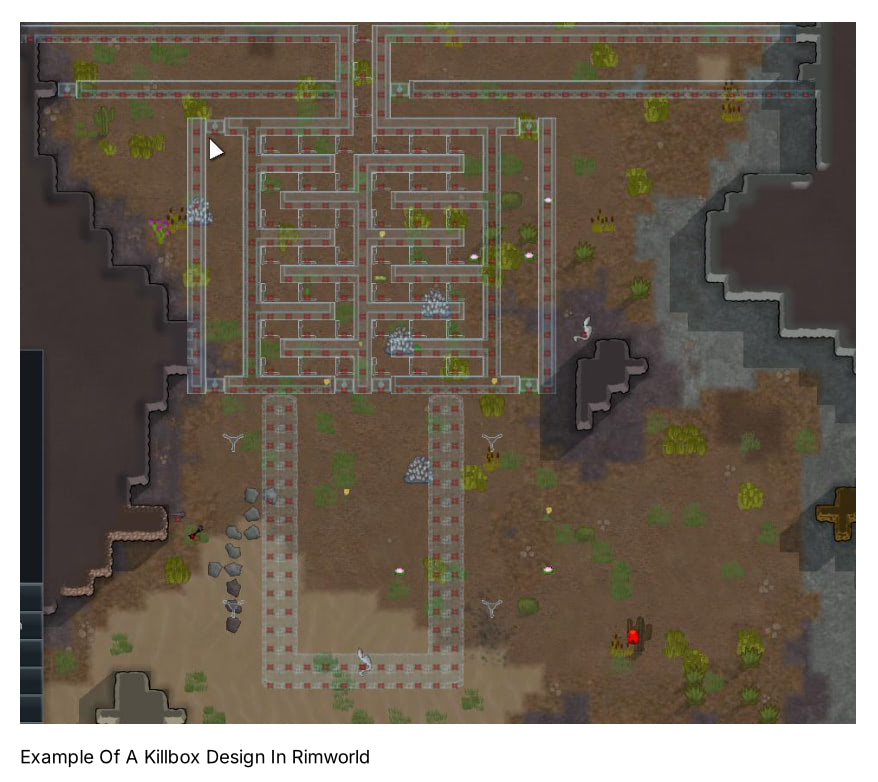
- Killbox Design: Funnel enemies through controlled chokepoints
- Turret Placement: Overlapping fields of fire
- Escape Routes: Multiple exits for emergency evacuation
For comprehensive defensive strategies, advanced combat tactics, and detailed killbox designs, check out our complete combat and defense guide.
Internal Security
- Secure storage areas with locked doors
- Separate prison from main colony
- Create safe rooms for non-combatants
- Plan firebreaks to prevent fire spread
Advanced Layout Techniques
Mountain Base Design
Special considerations for mountain colonies:
- Plan for insect infestations
- Create multiple entrance/exit points
- Use natural rock for defense
- Manage temperature and air quality
Mountain bases require special defensive considerations due to infestation risks and unique tactical challenges. Learn advanced defensive strategies in our combat and defense mastery guide.
Modular Expansion
Design for future growth:
- Leave space for additional rooms
- Plan utility infrastructure (power, heating)
- Design expandable workshop areas
- Consider late-game technologies
Base Layout Examples
Here are some practical examples of well-designed colony layouts that demonstrate the principles discussed above:
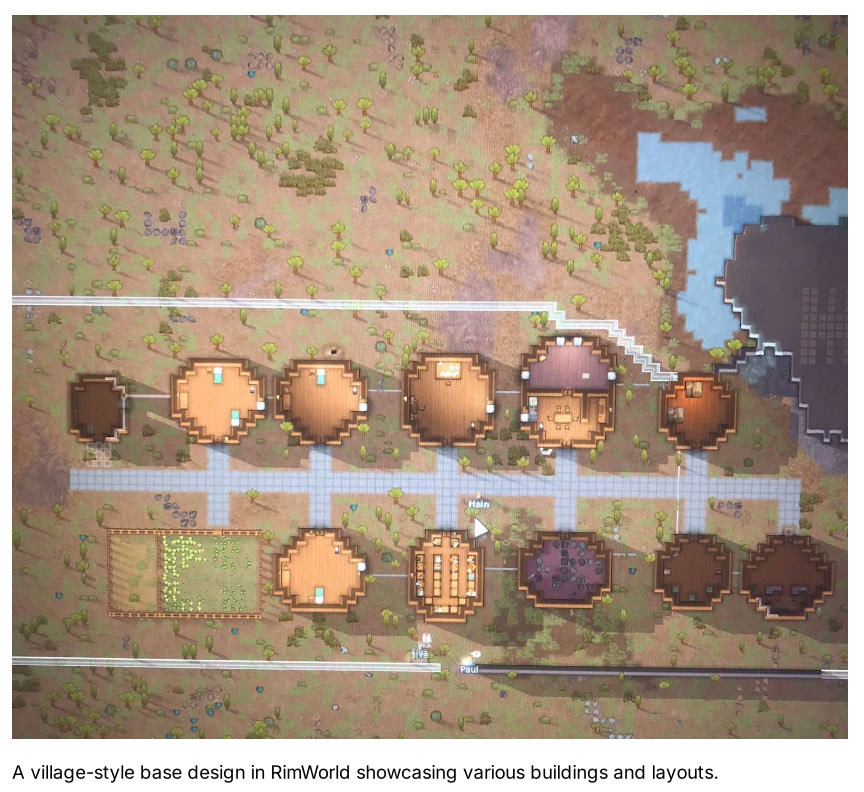
Example 1: Centralized hub design with efficient traffic flow

Example 2: Zone-based planning with dedicated production areas
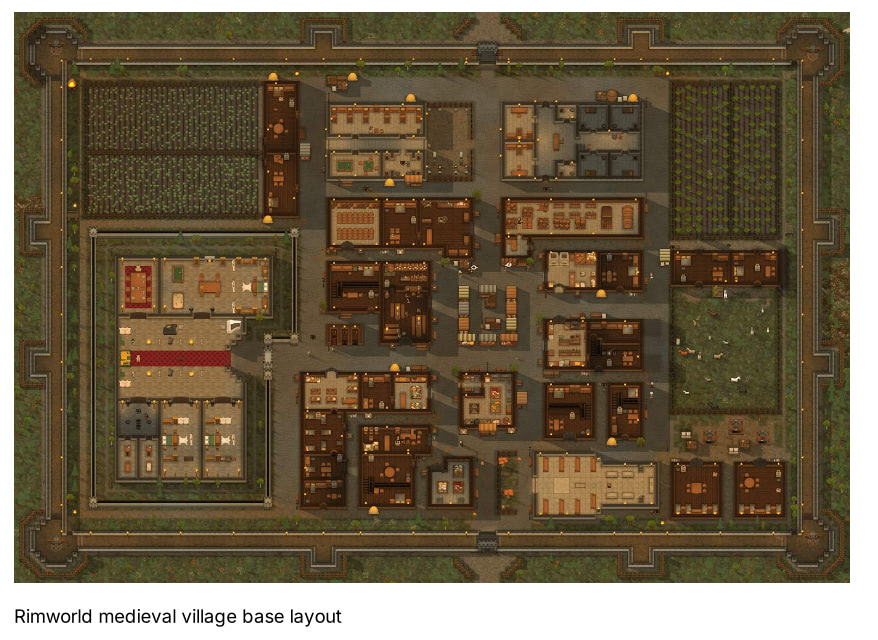
Example 3: Defensive integration with perimeter walls and killbox
Example 4: Mountain base design with natural rock integration
Example 5: Modular expansion design with room for future growth
Pro Tips
- Beauty Matters: Invest in flooring and art for mood bonuses
- Temperature Zones: Use airlocks and zoned heating/cooling
- Backup Systems: Redundant power and food storage
- Accessibility: Ensure wheelchair accessibility for injured colonists
Common Layout Mistakes
- Oversized rooms: Bigger isn't always better for impressiveness
- Poor traffic flow: Bottlenecks reduce efficiency
- Inadequate storage: Plan for material accumulation
- Weak defenses: Don't sacrifice security for aesthetics
- No expansion planning: Leave room for growth
Conclusion
A well-designed colony layout is an investment that pays dividends throughout your playthrough. Focus on efficiency, beauty, and defense while planning for future expansion. Remember that the best layout is one that serves your specific colony's needs and playstyle.