Stop Dying to Raids: RimWorld Combat Systems That Actually Work
Survival on the rim requires mastery of combat and defense. This comprehensive guide covers everything from basic defensive structures to advanced military tactics for protecting your colony against all threats. New to RimWorld? Start with our complete beginner's guide to learn the fundamentals before diving into advanced combat strategies.
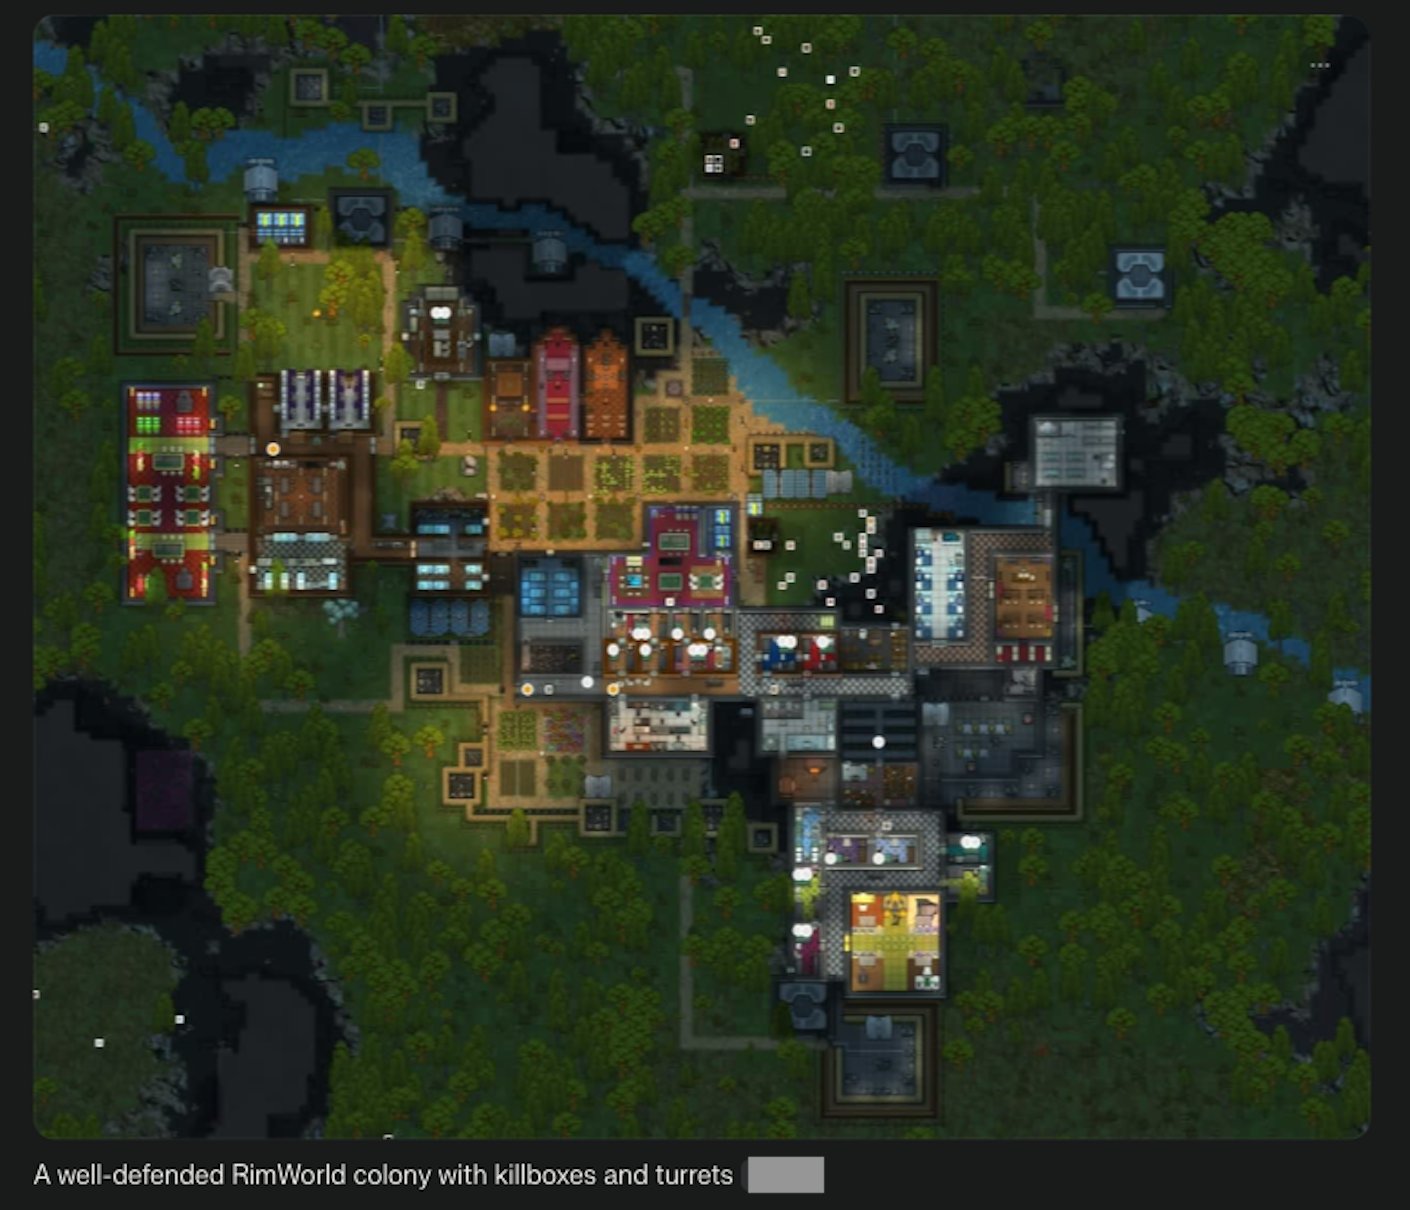
A well-defended RimWorld colony with killboxes and turrets
Understanding Threat Types
Raid Types and Responses
- Tribal Raids: Large numbers, primitive weapons, vulnerable to turrets
- Pirate Raids: Mixed weapons, moderate armor, balanced threat
- Mechanoid Clusters: Heavy armor, advanced weapons, require specialized tactics
- Siege Attacks: Mortars and defensive positions, need mobile response
- Drop Pod Raids: Bypass defenses, require internal security measures
Understanding each faction's technology level and equipment is crucial for effective defense planning. Learn more about faction tech tiers and weapon capabilities to better prepare for specific threats.
Environmental Threats
- Mad Animals: Fast, numerous, weak to area damage
- Manhunter Packs: Persistent threat, require secure shelter
- Infestations: Internal threat, need prepared response teams
Defensive Structures
Wall Systems
Effective wall design principles:
- Material Choice: Granite > Limestone > Steel > Wood
- Double Walls: Increased durability and insulation
- Embrasures: Allow shooting while providing cover
- Corners and Angles: Reduce splash damage vulnerability
Proper defensive wall integration requires careful colony planning. For comprehensive base design strategies that incorporate defensive structures, see our optimal colony layout guide.
Killbox Design
The ultimate defensive structure:
- Funnel Design: Force enemies through narrow corridors
- Cover Placement: Sandbags and walls for colonist protection
- Turret Positioning: Overlapping fields of fire
- Trap Integration: Spike traps and IED placement
- Escape Routes: Multiple exits for tactical withdrawal
Effective killbox design relies on understanding how raiders pathfind and make movement decisions. Learn how to exploit AI pathfinding behavior to funnel enemies exactly where you want them.
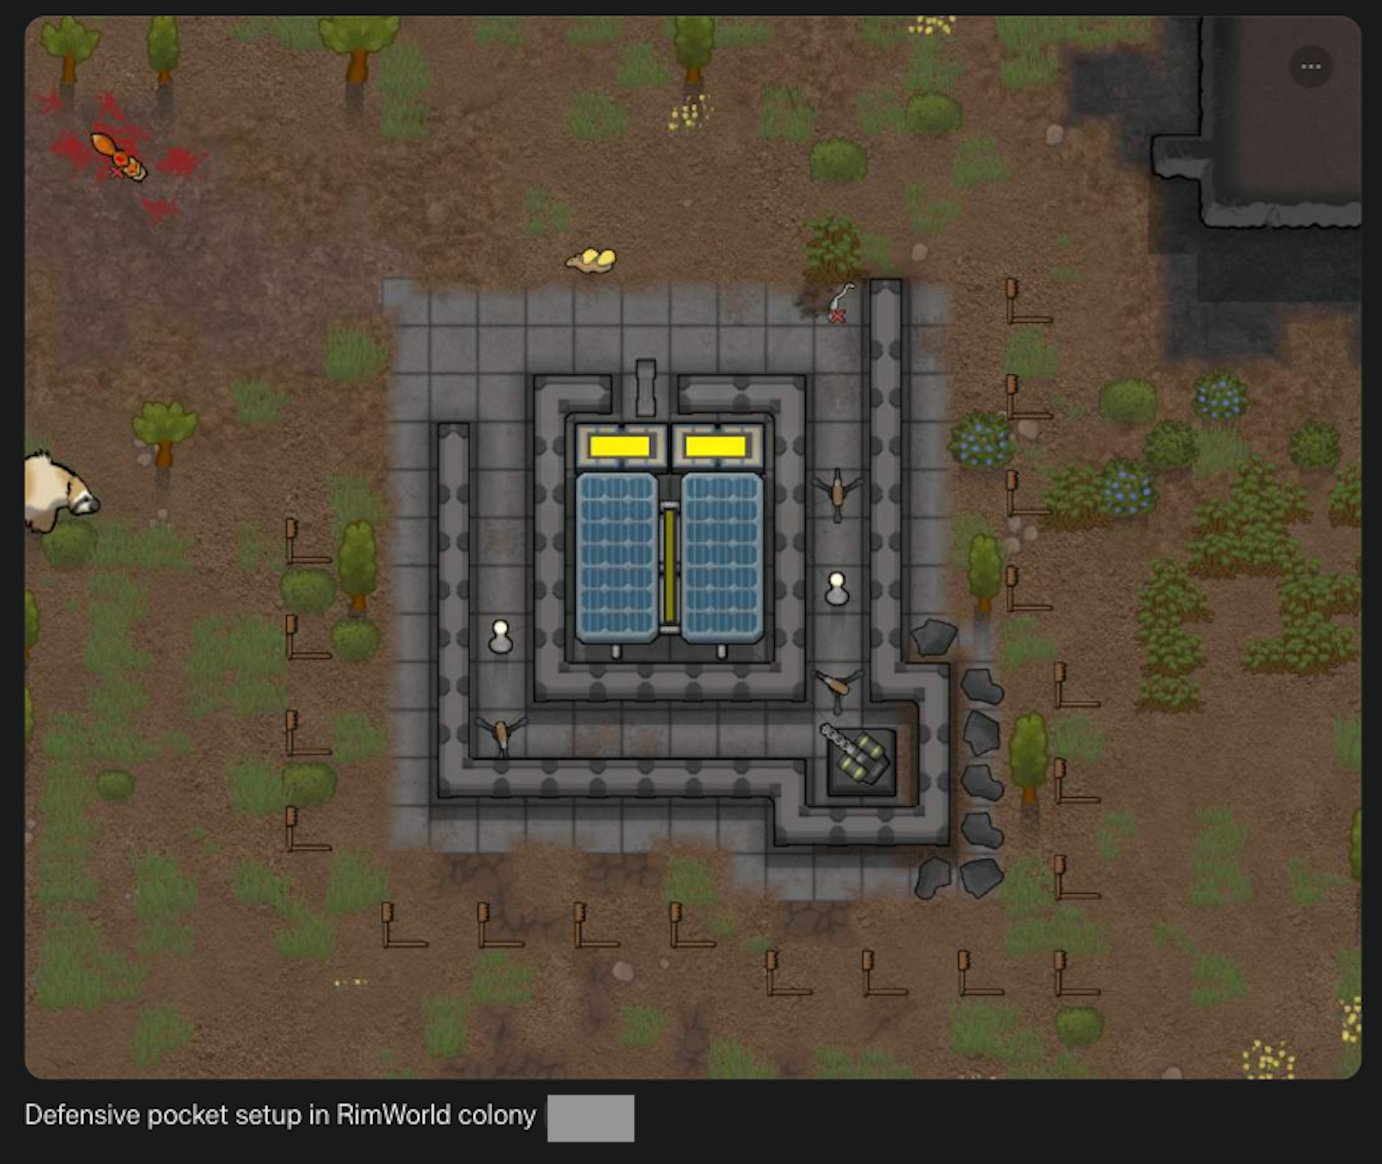
Defensive pocket setup in RimWorld colony
Weapon Systems and Selection
Ranged Weapons Tier List
S-Tier (Best):
- Charge Rifle: Excellent all-around weapon
- Sniper Rifle: Long-range precision
- Minigun: Crowd control and suppression
A-Tier (Very Good):
- Assault Rifle: Reliable mid-range option
- LMG: Good damage and range
- Bolt-Action Rifle: Accurate and powerful
Melee Weapons
- Monosword: Highest DPS melee weapon
- Longsword: Good balance of damage and speed
- Mace: Blunt damage against armor
- Shield Belt: Essential for melee fighters
Combat Tactics
Positioning and Formation
- High Ground Advantage: +15% accuracy bonus
- Cover Usage: Walls provide 75% cover, sandbags 55%
- Flanking Maneuvers: Attack from multiple angles
- Retreat Paths: Always plan escape routes
Strategic positioning is enhanced by understanding your base layout and traffic flow. Effective colony design ensures your defenders can quickly reach defensive positions while maintaining clear lines of sight and retreat options.
Advanced Combat Techniques
- Kiting: Hit and run tactics with fast colonists
- Chokepoint Control: Force enemies into disadvantageous positions
- Focus Fire: Concentrate damage on priority targets
- Suppression: Keep enemies pinned while repositioning
Turret Systems
Turret Types and Applications
- Mini-turret: Cheap, effective against unarmored enemies
- Uranium Slug Turret: High damage, long range
- Autocannon Turret: Balanced damage and range
- Charge Turret: Advanced, high-tech option
Turret Placement Strategy
- Create overlapping fields of fire
- Protect turrets with walls and embrasures
- Ensure power redundancy
- Plan for maintenance access
Armor and Protection
Personal Armor Progression
- Early Game: Flak vest and simple helmet
- Mid Game: Plate armor and advanced helmet
- Late Game: Marine armor and cataphract armor
- End Game: Power armor and shield belts
Specialized Protection
- Shield Belts: Block ranged attacks
- Smokepop Belts: Provide concealment
- Jump Packs: Mobility and positioning
Critical Defense Tips
- Always Have Backup: Multiple defensive lines and fallback positions
- Medical Preparation: Field medics and emergency medical supplies
- Power Security: Protected power sources and backup generators
- Communication: Use drafted formations for coordinated attacks
Specialized Scenarios

A complex, established RimWorld colony with extensive defenses and signs of recent combat
Defending Against Sieges
- Mobile strike teams to destroy mortars
- Counter-mortar positions
- Underground tunnels for flanking
- Smoke screens for cover
Mechanoid Cluster Assault
- EMP weapons and grenades
- Long-range engagement
- Armor-piercing ammunition
- Coordinated alpha strikes
Training and Preparation
Skill Development
- Shooting: Regular hunting and target practice
- Melee: Sparring and combat training
- Medical: Treat injuries and perform surgery
- Construction: Build and repair defenses
If your builders are struggling with construction efficiency or making poor decisions, check out our guide on fixing builder AI issues to optimize your defensive construction projects.
Equipment Maintenance
- Regular weapon and armor repairs
- Ammunition stockpiling
- Medical supply reserves
- Backup equipment storage
Conclusion
Mastering combat and defense in RimWorld requires understanding your enemies, preparing appropriate responses, and maintaining constant vigilance. Build layered defenses, train your colonists, and always have contingency plans. Remember: the best defense is often a good offense, but preparation saves lives.